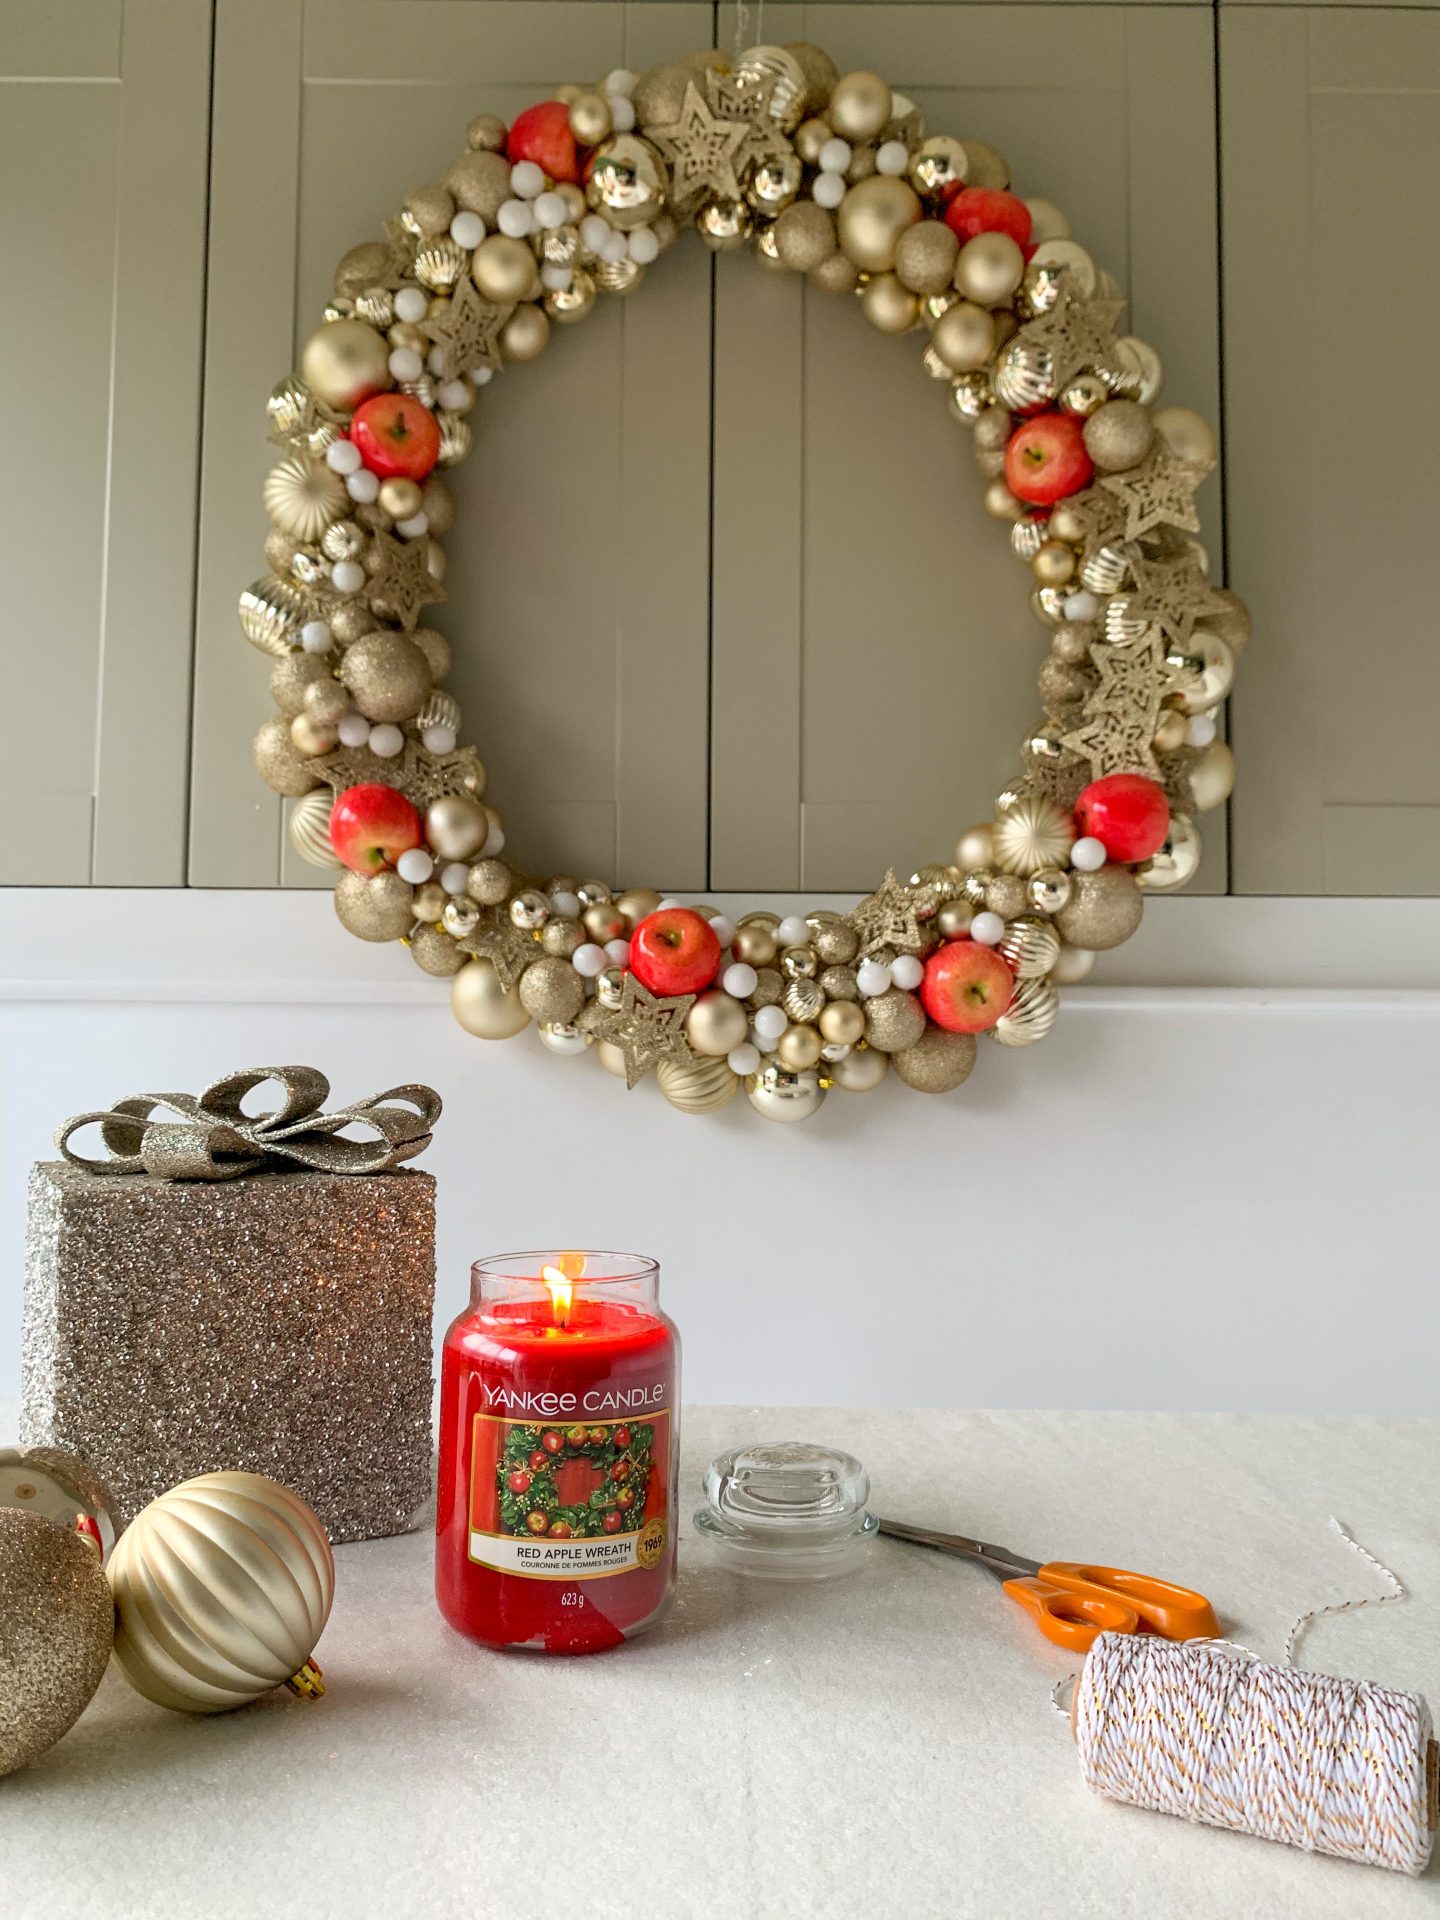
DIY POOL NOODLE CHRISTMAS WREATH WITH YANKEE CANDLE
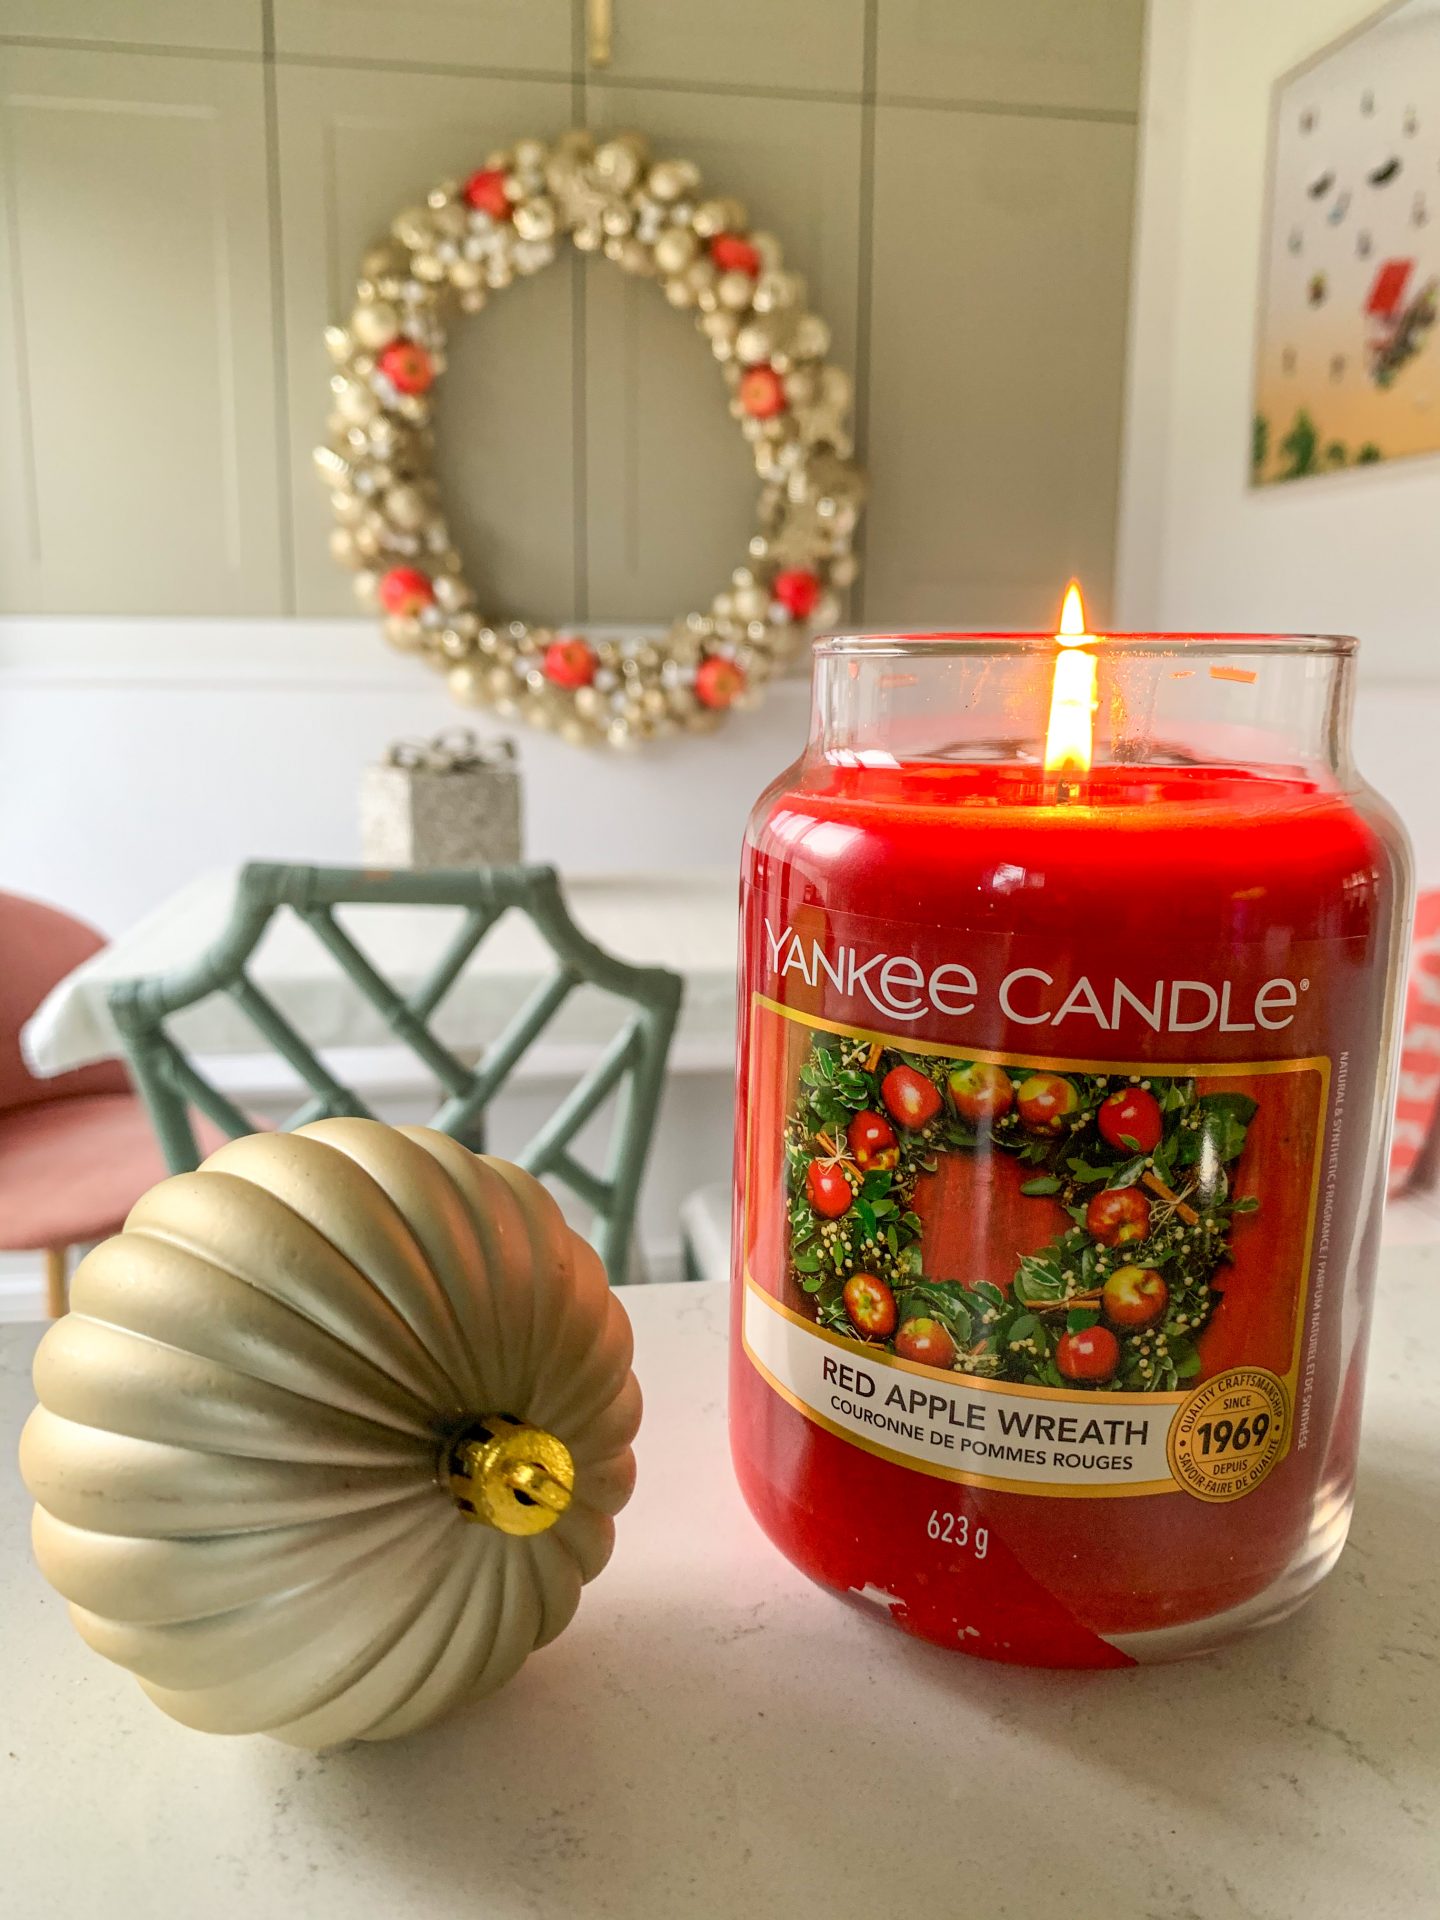
I’ve teamed up with Yankee Candle to bring this rather epic DIY to you this festive season…it’s a giant swimming pool noodle DIY Christmas Wreath inspired by one of my favourite candles, Red Apple Wreath. As well as the new seasonal collection Magical Christmas Morning, Yankee Candle also has a selection of core festive fragrances which are sold throughout the year and this is one of them.
The scent of Red Apple Wreath makes me feel so happy with the festive aroma of sweet apples, cinnamon, walnuts and maple. It’s so homely and that’s why I adore it! The large jar candle has 110 to 150 hours of burning time which is truly incredible when you think about it. Ours will take us up to Christmas and beyond.
We did this make as a family and the sense of achievement when we hung it up was wonderful. The wreath was nearly as big as our five year old so to say it makes a statement is an understatement! It looks utterly fabulous as a backdrop to the banquette in our kitchen.
WHAT YOU NEED
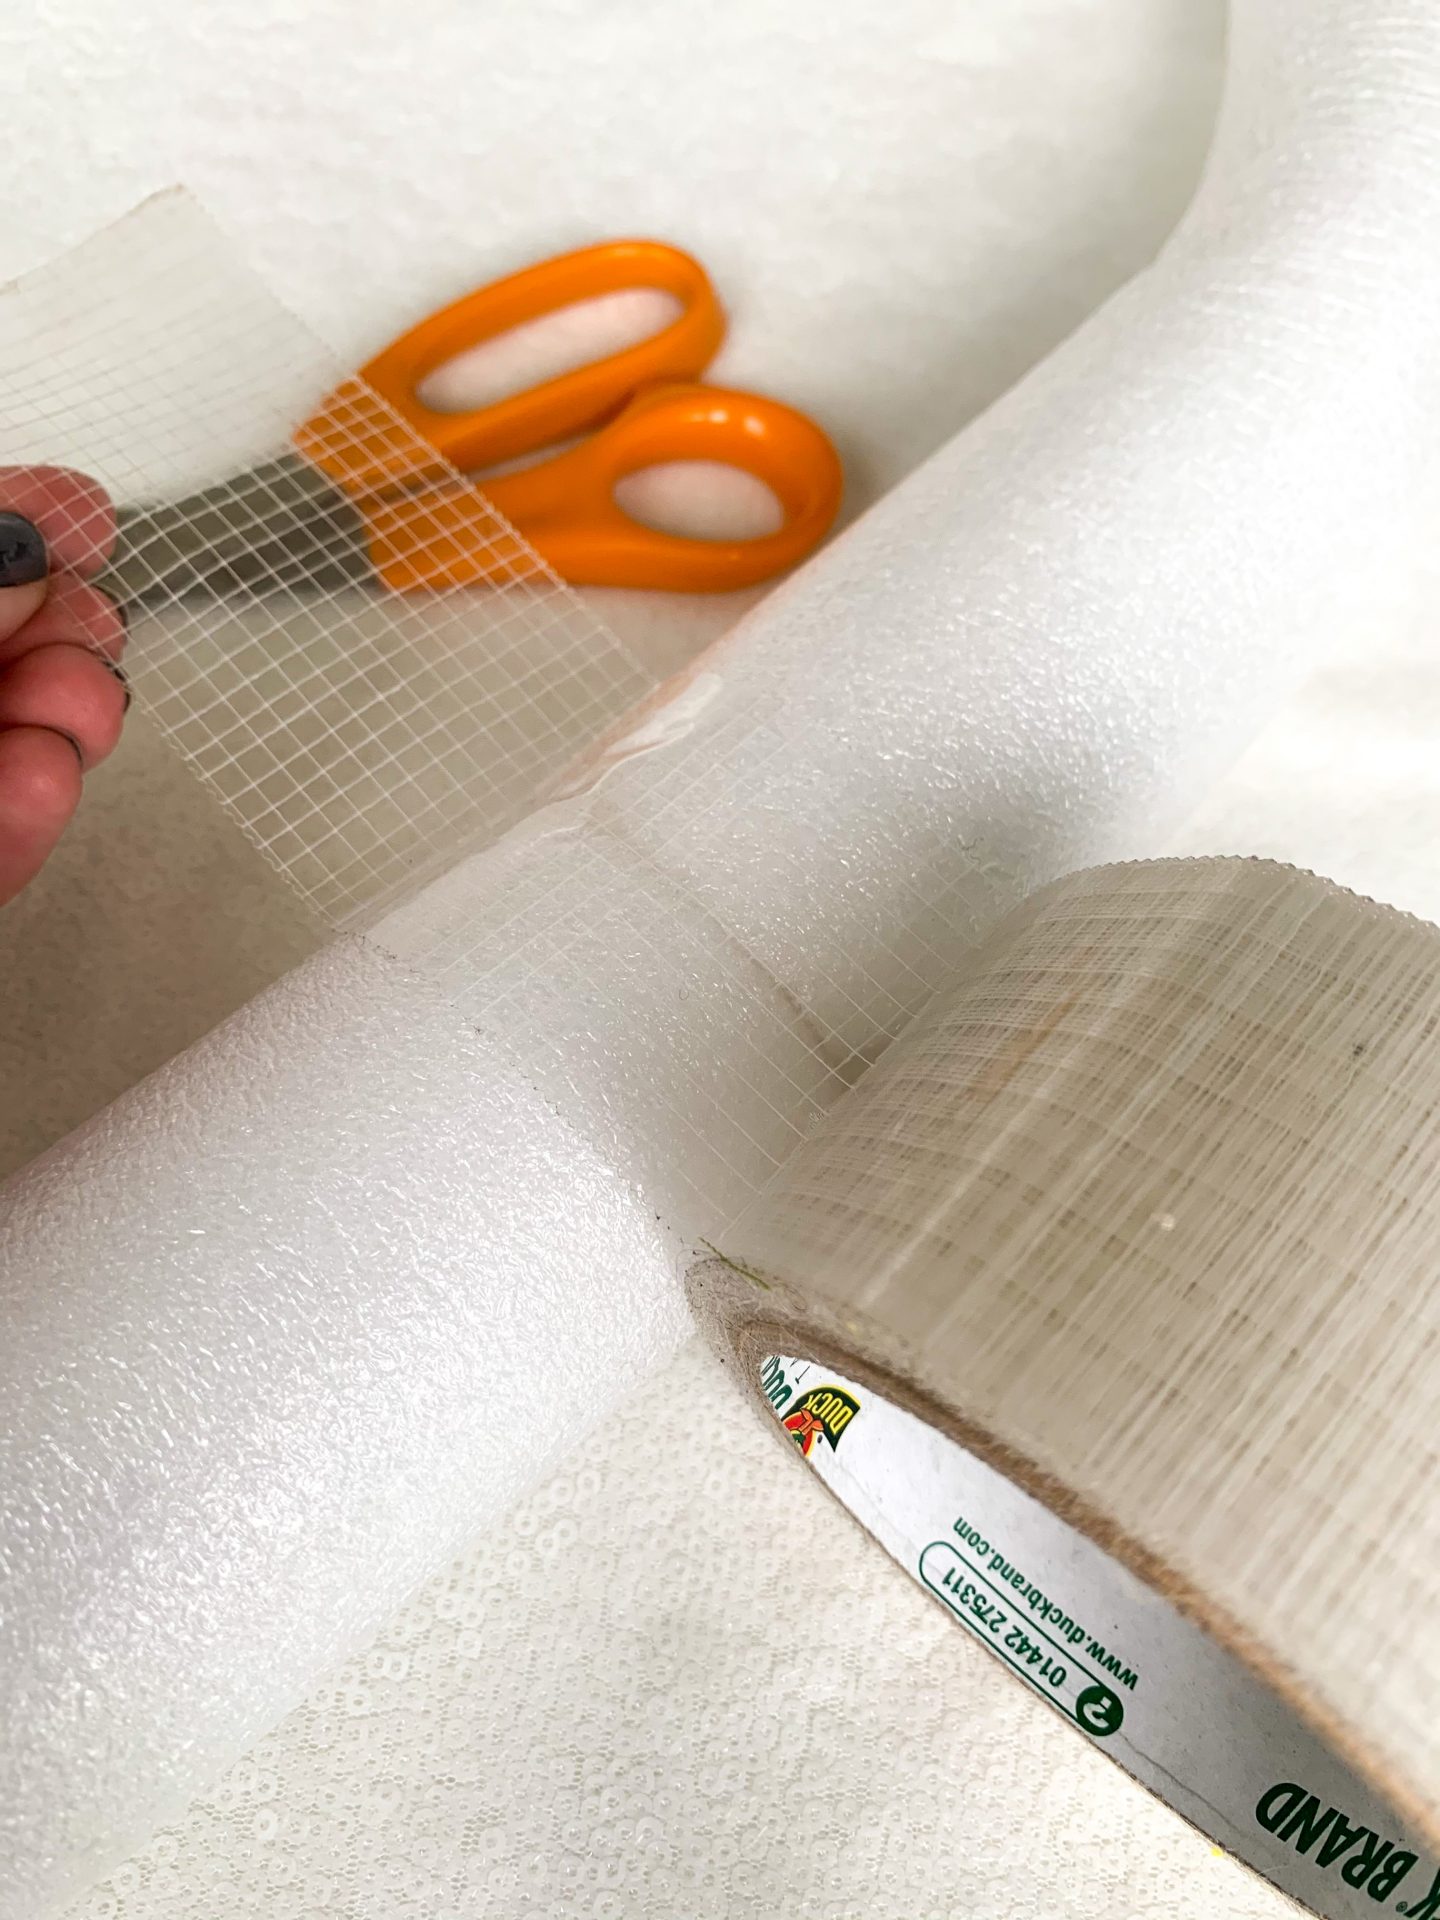
- 2 pool noodles (I used white as you tend to see through to parts of it but you could spray paint other colours or wind in white tape)
- Strong parcel tape
- Glue gun
- Twine
- Scissors
- Baubles (I used 3.5 boxes of 60 baubles which had a mixture of sizes)
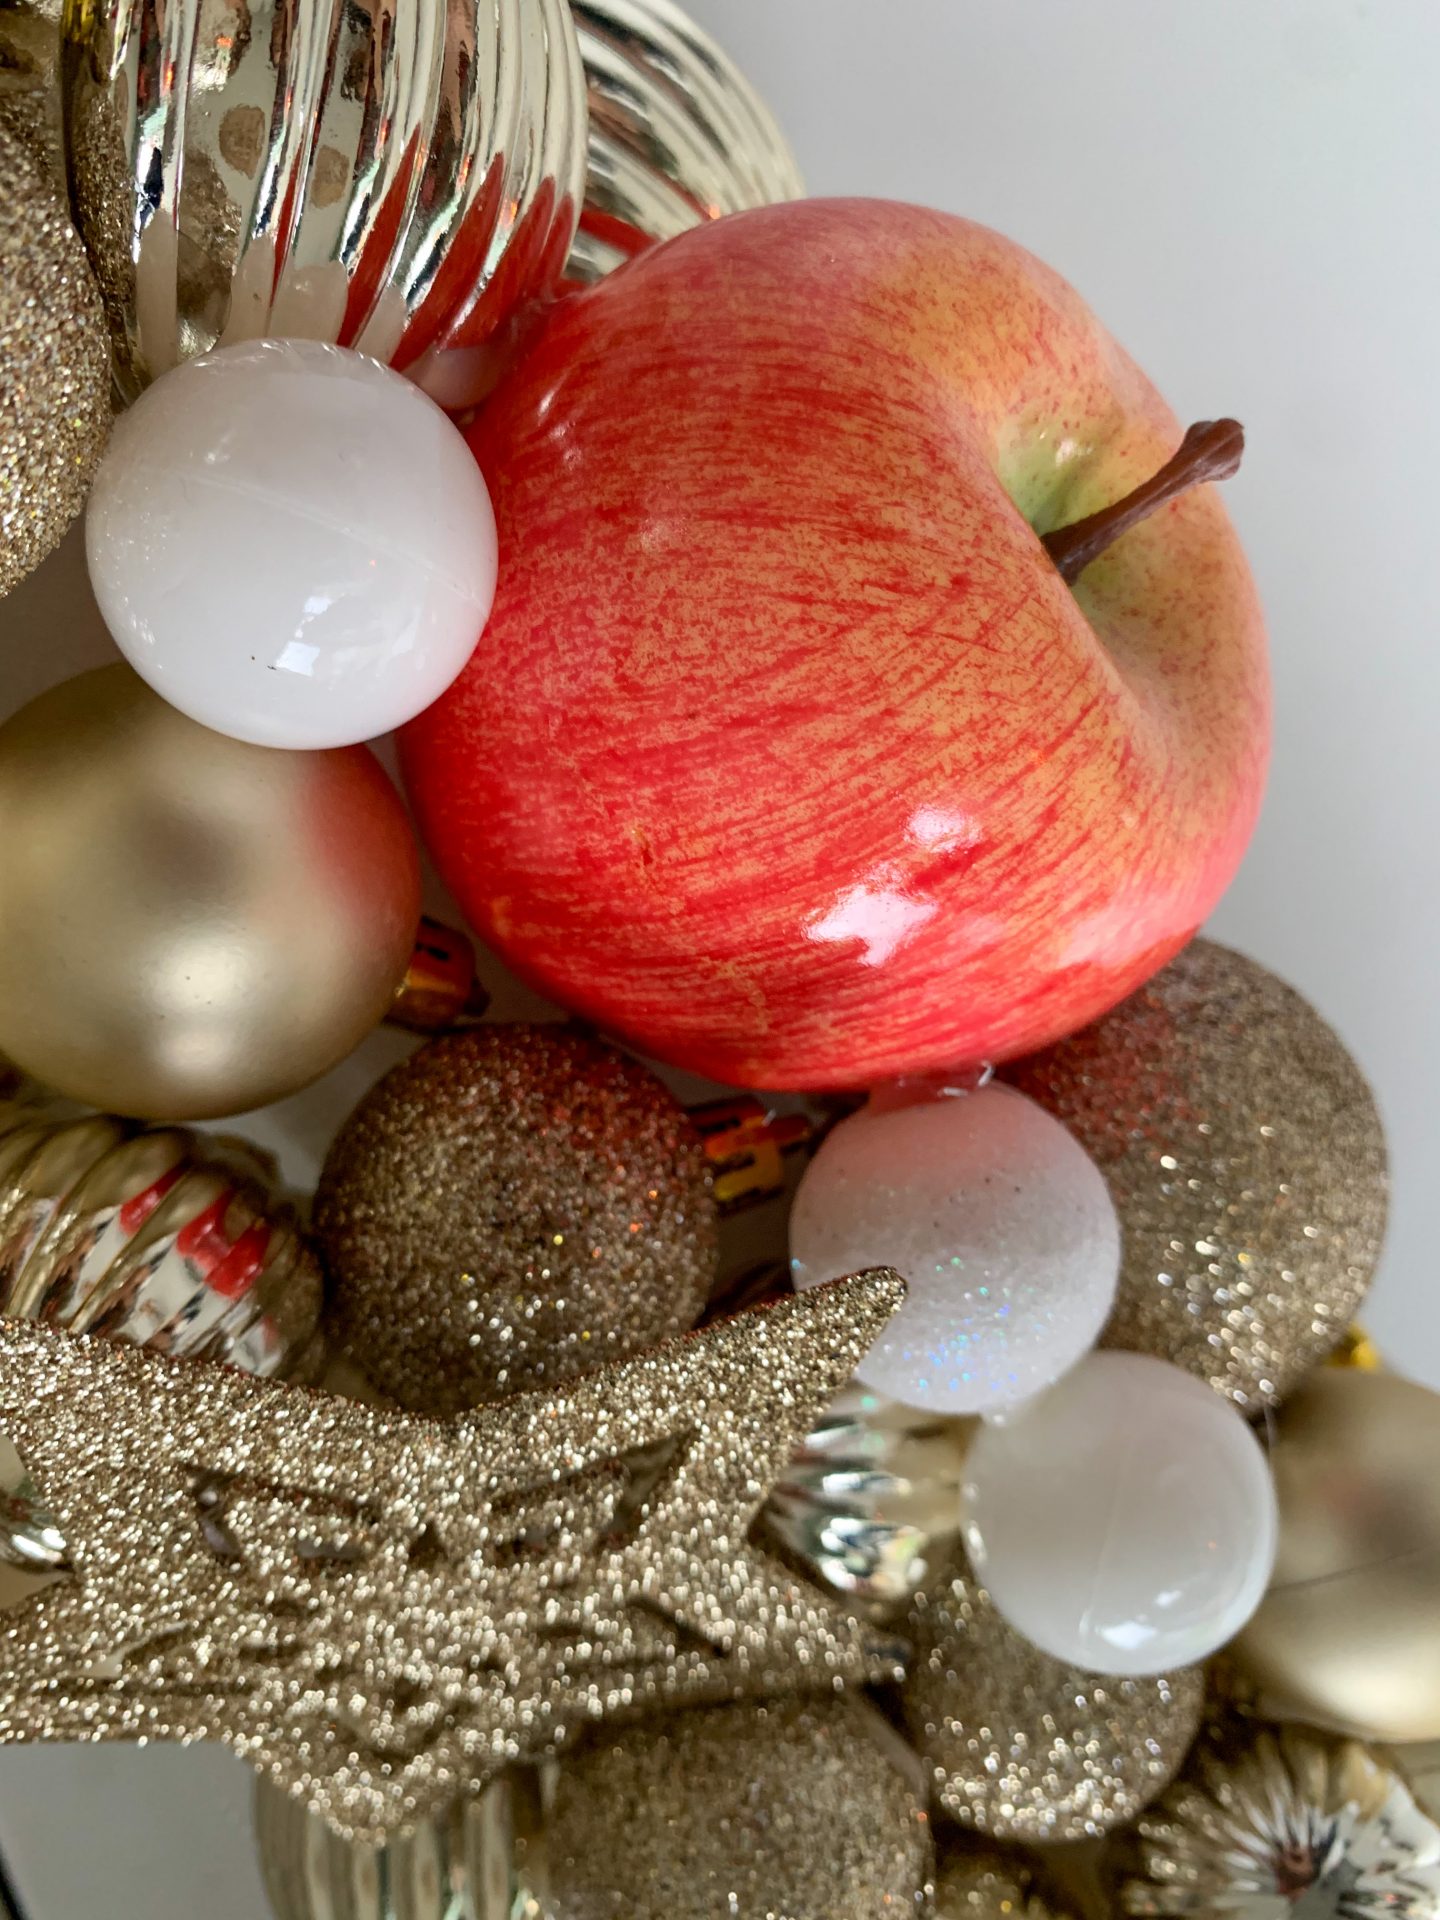
- Faux apples
- Wreath hanger or very strong hook
- Yankee Candle’s Red Apple Wreath to enjoy while making and admiring your masterpiece!

HOW TO MAKE IT
Join the pool noodles together with strong parcel tape and cut down to size if necessary (i.e. if you were sizing to fit around a mirror) then tie twine around the noodle to make a loop at the top. Add more loops at two and ten ‘o’ clock in case reinforcements are needed (I discovered this at the end and I’m telling you now so you don’t make the same mistake!).
Space out the apples to ensure you have an even spread around the wreath.
Get the glue gun ready and start fixing the baubles to the noodles; I found it easier to think about the design in two halves and started each half by gluing predominantly the same size baubles to the inside and outside before filling in the middle.
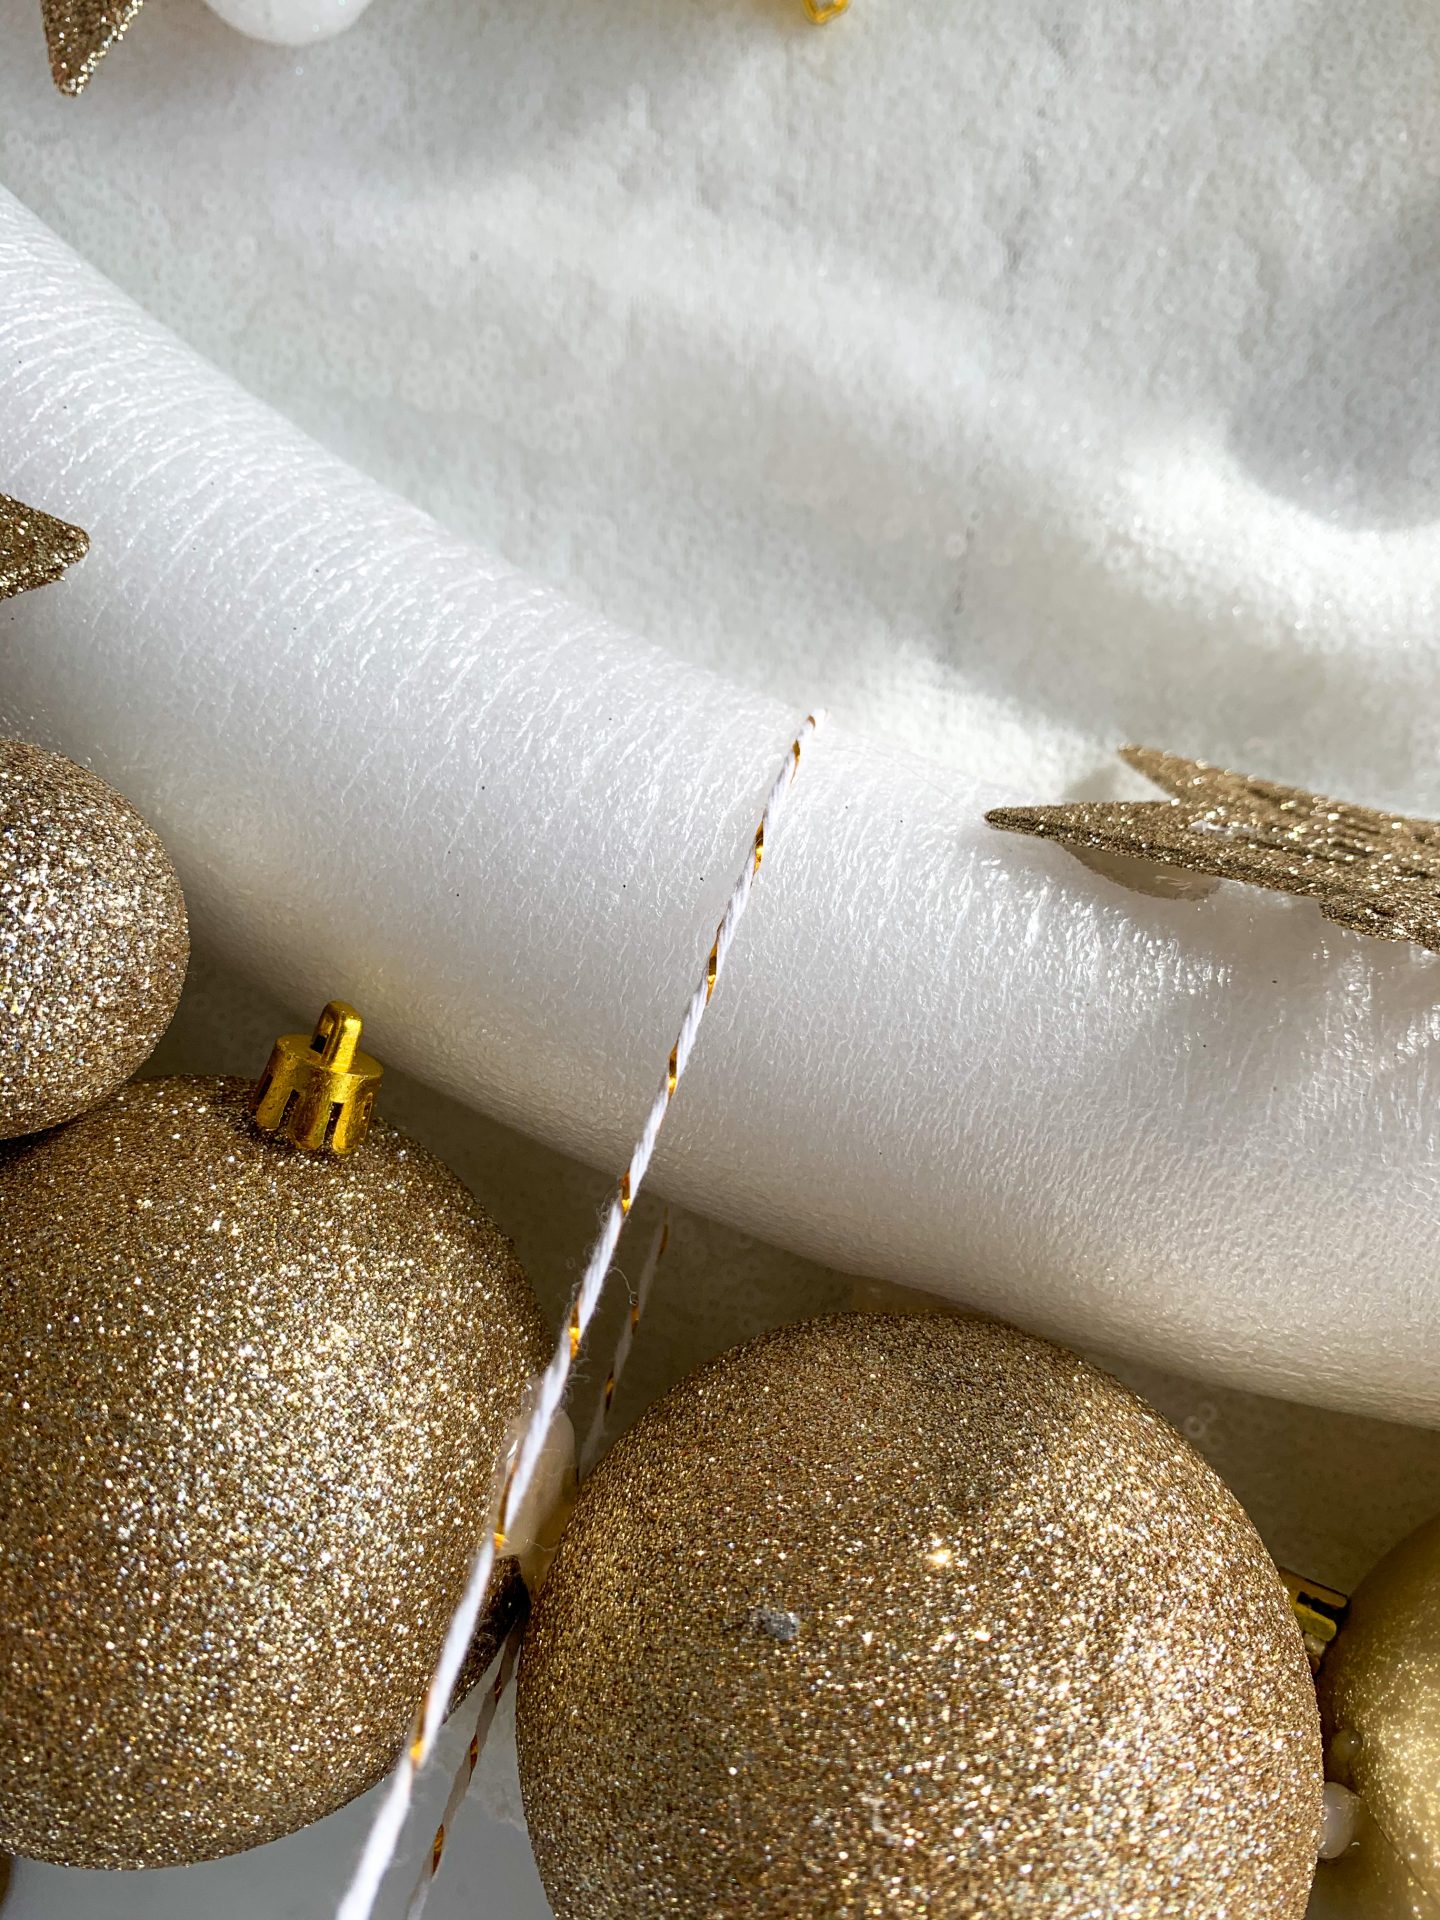

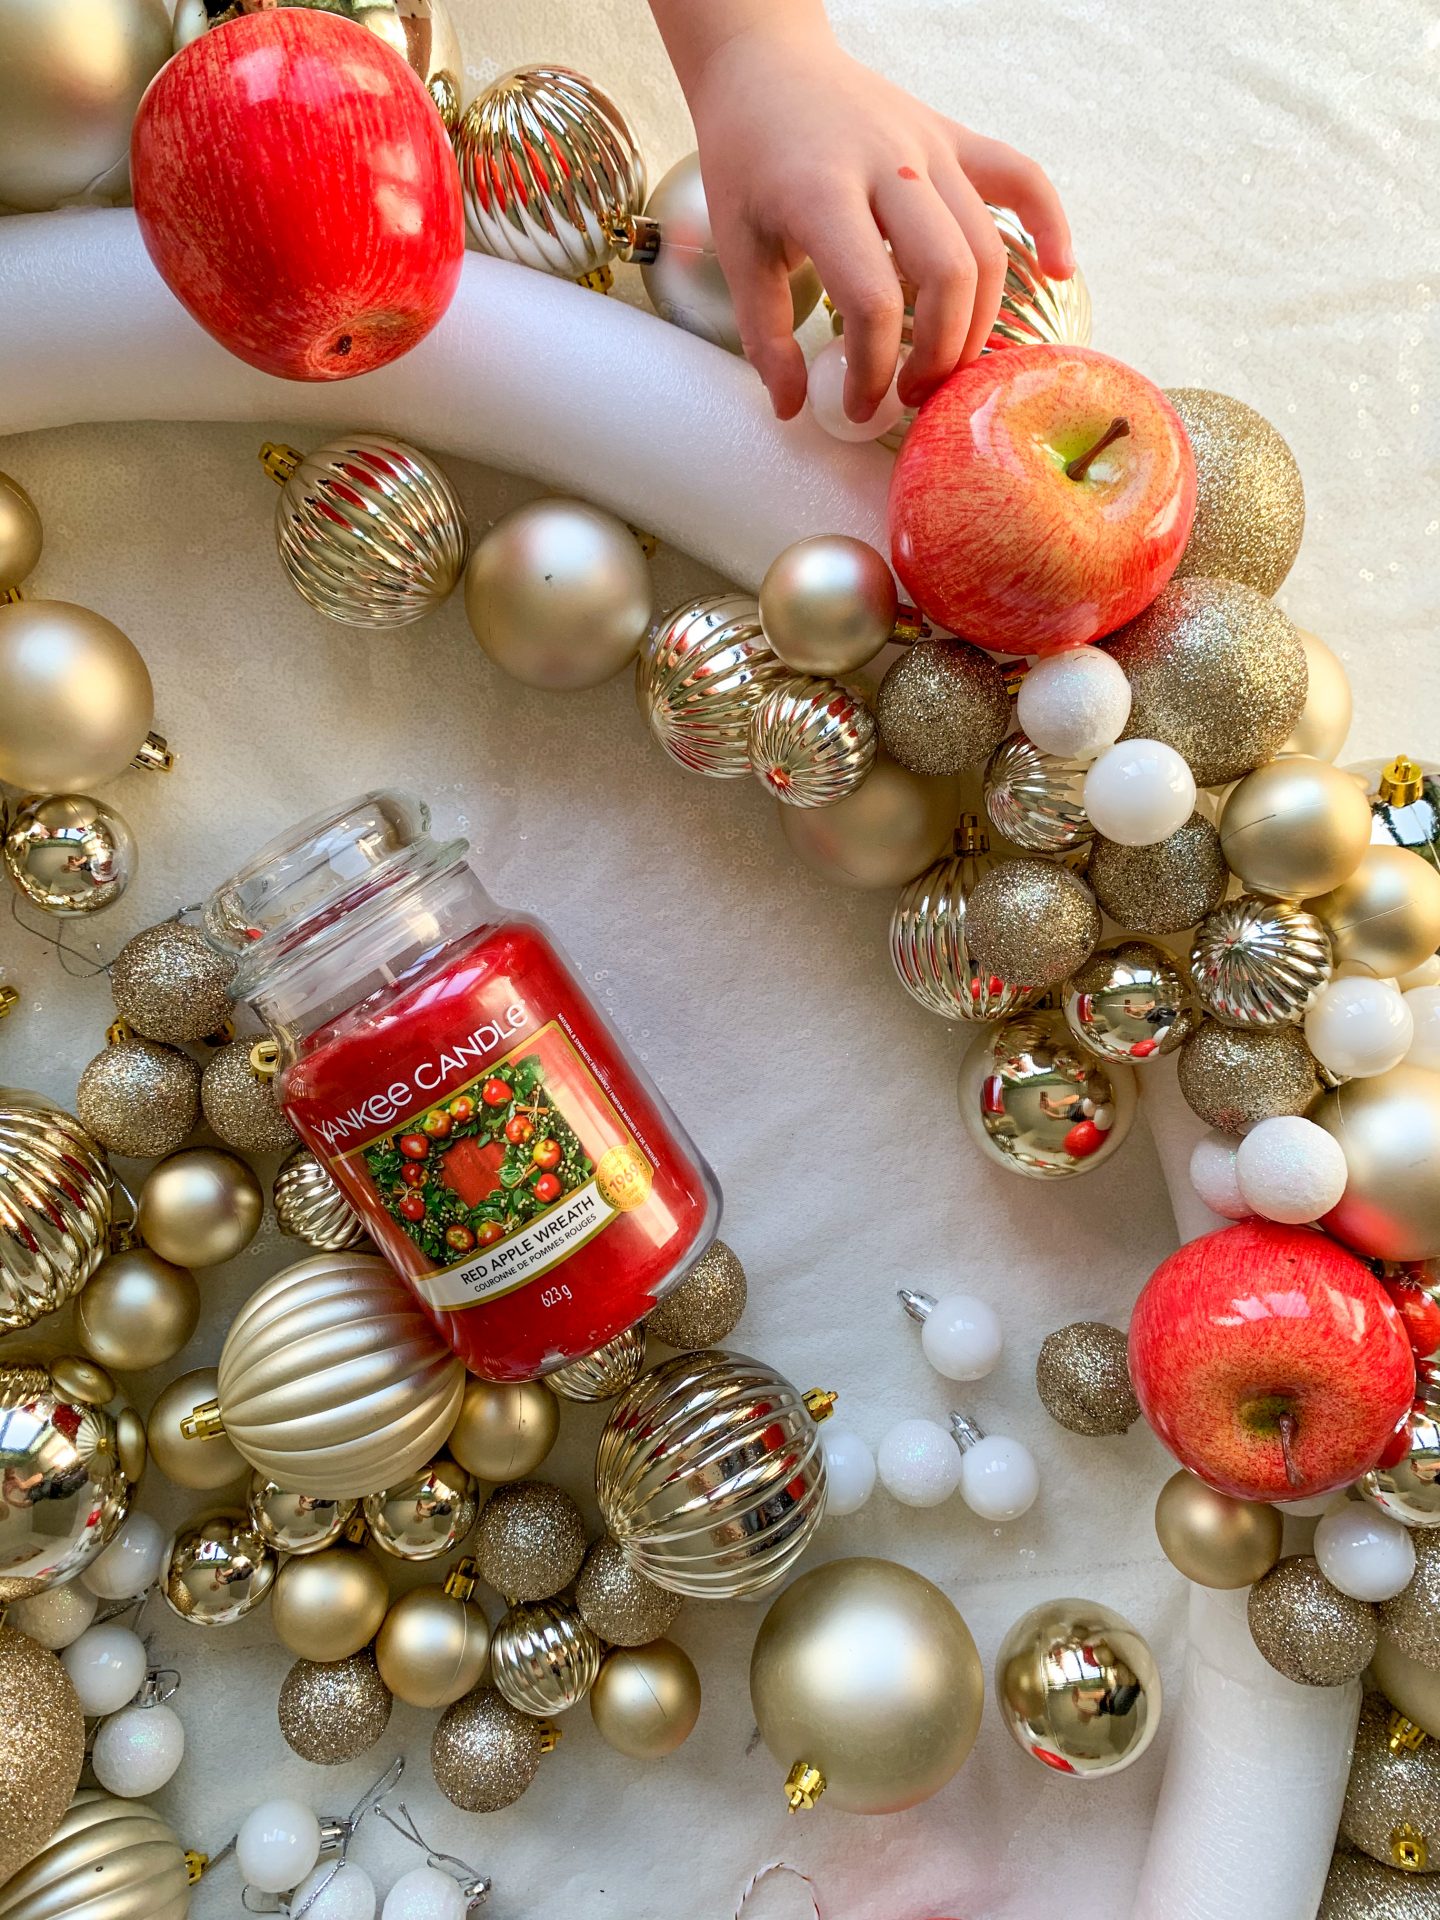
Baubles of different sizes and textures was the key to creating a balanced interesting wreath with plenty of depth and decadence. I love how the red apples bring a pop of colour…and mimic the Yankee Candle Red Apple Wreath design too of course!
I found the design worked better when it was more random, so although the apples were evenly spread they were placed at different angles and some of the wreath had a cluster of stars whereas others had lots of smaller white and gold baubles.
Having my children around to assist (taking care with the hot glue) really helped as I think us adults sometimes overthink the placement of things which can result in designs looking too ‘staged’


Work your way around until the gaps are filled then add a few more on top to give it a real sense of depth.
Once dry, hang up on a wreath hanger…to keep the round shape I discovered (an hour or two later!) that the wreath needed to be hung at 12 ‘o’ clock, 2 ‘o’ clock and 10 ‘o’clock so used three hangers in total.


Then there’s nothing left to do but to sit back and enjoy your marvellous creation whilst burning your favourite Yankee Candle!
What do you think of this DIY? Let me know in the comments below and if you give it a try do share and tag @ohsokel on Instagram or Facebook as I’d love to see the results!
Until next time and stay safe.
Kel x
Thank you to Yankee Candle for sponsoring this post; we had a fabulous time creating this rather epic wreath and now get to enjoy the beautiful scent of your candle!